 vidmoat
 MODULE 06 · LESSON 06.02 · 25 MIN WITH PRACTICE
Add keyframes when the story needs movement
About this video
Alex is a fictional illustrated presenter with audio-reactive animation. Narration is AI-generated. Editor visuals are screenshot walkthroughs; inspect the interactive demonstrations below as you follow along.
Create one controlled move and explain why it belongs there.
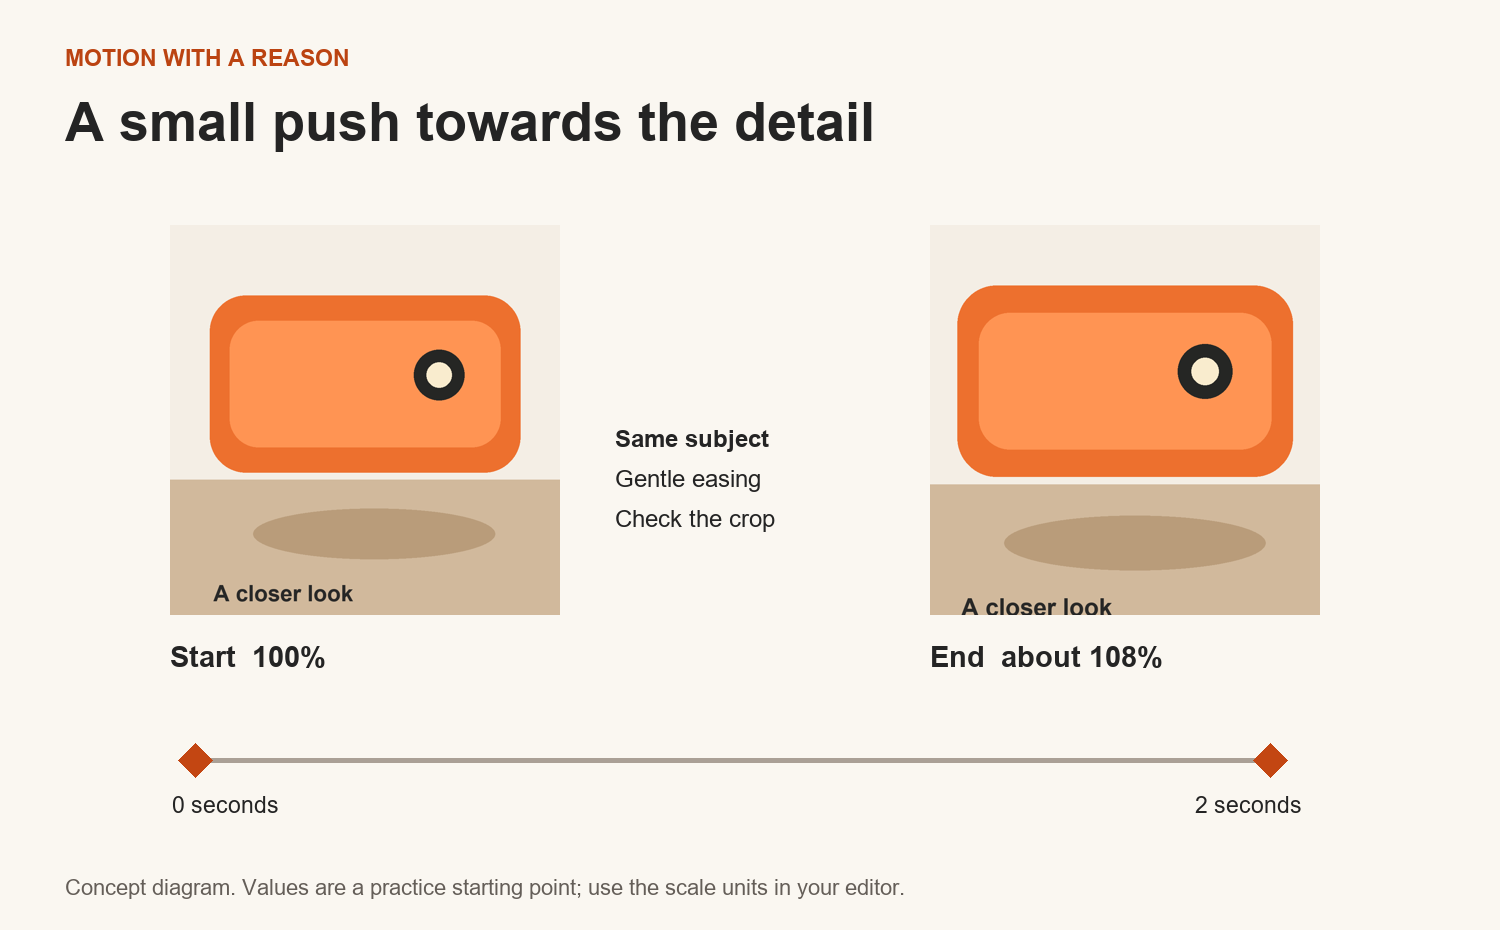
A keyframe records a property value at a particular time. Put a normal scale at the start of a moment and a slightly larger scale later, and the editor can move between them. The point is to guide attention, not to prove that you found the animation controls.
For a review, a small push towards the product can underline a useful detail. For a tutorial, a brief zoom can help someone read a control. For a quiet interview, holding the frame may be the stronger choice. Movement feels more natural when its beginning and ending are gentle rather than mechanically abrupt.
Try a small change first. Moving from 100 percent to roughly 108 percent over two seconds is an exercise starting point, not a universal recipe. Check the frame edges and source sharpness. If the editor uses a different scale unit, ask for an eight-percent relative enlargement. Preserve the subject’s position so the move does not drift away from the detail.
SEE IT IN VIDMOAT · INTERACTIVE WALKTHROUGH
Make a deliberate picture adjustment
Real editor screenshots · September 2026 · Select a step, then tap the image to zoom.
Select first, transform second
Select the image clip, then open Motion. Scale changes the size; X and Y change position. A diamond beside a property is a keyframe control.
Start with a still composition that works. Then follow the lesson to animate it.
Adjust with a reason
Open Color for the selected clip. Inspect the real controls in this panel, change one thing at a time, and compare against the original. The lamp artwork is a teaching source, not a skin-tone grading test.
Use your own representative footage for the colour exercise; do not copy arbitrary values from a screenshot.
Step 1 of 2
Follow along in Vidmoat
- Choose a two-second moment with a clear visual reason to move.
- Select the clip and open Motion or its keyframe controls.
- Set the starting scale and position at the beginning of the moment.
- Add a later keyframe with a small enlargement and adjust the end position if needed.
- Apply gentle easing where available, then play the move and compare with a still version.
A prompt you can adapt
Add one gentle two-second push-in while I show the lamp switch. Enlarge by about eight percent relative to the current framing, keep the switch visible and use smooth easing. Leave other shots still.
Your turn
Create one push-in and one version with no move. Ask which version makes the feature easier to notice, and remove the motion if it adds no value.
What a successful attempt looks like
The movement supports the exact demonstration and has no sudden jump or unwanted crop.
A common trap
Adding a zoom to every sentence makes all moments feel equally important and can cause visual fatigue.
Saved in this browser only. Download your notes from the course menu to keep a copy.
IN THIS LESSON
↙ Get the workbook